 |
| Manning Cartell Summer 10/11 - Compulsive Sketcher |
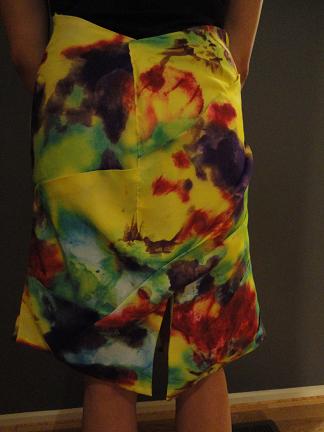
So there was this skirt I made last week for my friend Clara. It's inspired by a Manning Cartell creation I saw in a magazine somewhere however when I went on their website, I couldn't find any pictures of the same skirt! The picture above is in a similar print. Isn't it gorgeous?
You can see pictures of the skirt (and Clara) here: http://jltfk.blogspot.com/2011/04/mini-tutorial-series-continued-manning.html. Originally I made it for the hips, but when she tried it on she wanted it for her waist. So the pictures show a bit of alteration at the back made after the skirt was completed.
Here's how I made it. You'll need:
- 1 piece of lining material
- 1 piece of cloth for the outer layer (a pop print :D)
- An invisible zip, about 40cm long. I got mine at Lincraft.
As with previous tutorials, this one is divided into three sections- Making the pattern, cutting the cloth, and sewing. Please read all the instructions before starting :) And don't forget to click the Facebook 'like' button to share this project with all your crafty friends!
PATTERN:
STEP 1: Measure how long you want your skirt to be from your hips (should be on your pelvis bone area). On a sheet of newspaper, draw this line.
STEP 2: With a measuring tape, measure around your hips.
Divide this measurement by 4.
Add 2cm for ease.
Draw this line at the top as shown. I used a French Curve, but you can use a big plate if you want.


